Applying DTF (Direct to Film) transfers is easy—but getting flawless, long-lasting results takes a little know-how. Whether you’re new to custom printing or want to perfect your process, this step-by-step guide will help you achieve vibrant, professional-quality prints every time.
Why Proper Application Matters
Even the best DTF transfers need to be applied correctly for maximum vibrancy and durability. The right method ensures your prints won’t crack, peel, or fade—no matter how often they’re worn or washed.
What You’ll Need
- DTF transfer (from Smith Artist Productions, of course!)
- Garment or item (t-shirt, hoodie, tote bag, etc.)
- Heat press (recommended) or home iron (for testing/samples)
- Teflon sheet or parchment paper
- Lint roller and rubbing alcohol (for prep)
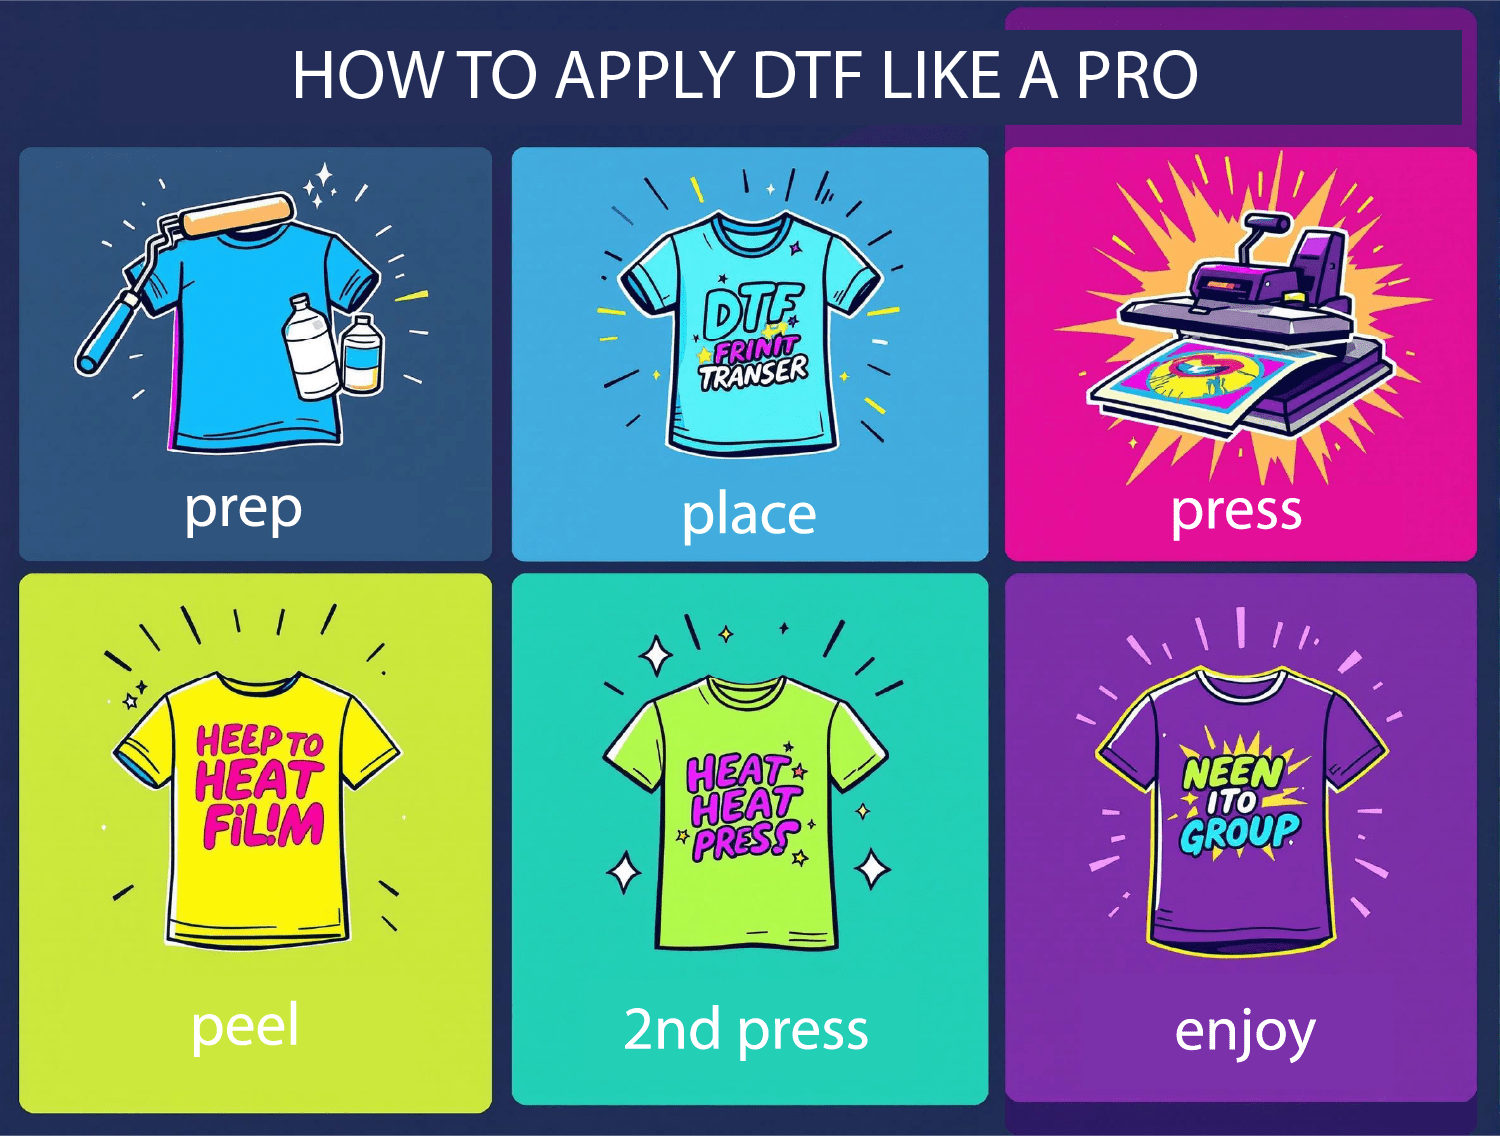
Step-by-Step DTF Application Instructions
1. Prep Your Garment
- Wash and dry the garment first (skip fabric softener).
- Use a lint roller to remove dust and fibers.
- Wipe the area with rubbing alcohol for best adhesion.
2. Set Your Heat Press
- Standard fabrics: 350°F (177°C) for 10-15 seconds
- Polyester: 220°F (104°C) for 15-20 seconds
- Use medium to firm pressure.
3. Position the Transfer
- Place the DTF transfer (design side down) on your garment.
- Cover with a Teflon sheet or parchment paper.
4. Press the Transfer
- Close the heat press and apply firm, even pressure for the recommended time.
5. Peel the PET Film
- Allow the transfer to cool for 5-10 seconds (cold peel is usually best).
- Slowly peel away the PET film at a steady angle.
6. Final Press (Optional but Recommended)
- Cover the design with Teflon/parchment and press again for 5 seconds for extra durability and a softer feel.
Pro Tips for Perfect DTF Results
- Always check your heat press for accurate temperature—hot spots can affect results!
- Test on a scrap garment if you’re new to DTF or using a new fabric.
- Store unused transfers flat and away from heat/moisture.
Troubleshooting Common Issues
- Transfer Not Sticking: Double-check your temperature, pressure, and pressing time.
- Cracking or Peeling: Usually caused by too little pressure or peeling too soon.
- Dull Colors: Make sure you’re using a high-quality transfer and pressing at the right temp.
FAQs
Can I use a home iron for DTF transfers?
For best results, use a heat press. A home iron can work for small designs or samples, but results may vary.
Do DTF transfers work on hats, bags, or other items?
Absolutely! As long as the surface is heat-safe and flat, DTF can be applied.
How do I care for garments with DTF transfers?
Wash inside out, cold water, tumble dry low or hang dry. Avoid bleach and fabric softener for maximum print life.
Why Order DTF Transfers from Smith Artist Productions?
- Industry-leading quality and durability
- No minimum order—perfect for testing and scaling
- Fast, 24-48 hour turnaround
- Expert support and satisfaction guarantee
Ready to get flawless results? Start your next DTF project with Smith Artist Productions and apply your transfers like a pro!